Categoría: chuleta

  • CalDigit Thunderbolt Station 2 Setup Guide for MacBook Pro 11,1 + Debian (Kali Linux)

    CalDigit Thunderbolt Station 2 Setup Guide for MacBook Pro 11,1 + Debian (Kali Linux)

    System Configuration

    • Hardware: Apple MacBook Pro 11,1 (Mid 2013)
    • OS: Debian Testing / Kali GNU/Linux Rolling 2025.4
    • Kernel: 6.17.8-2-liquorix-amd64
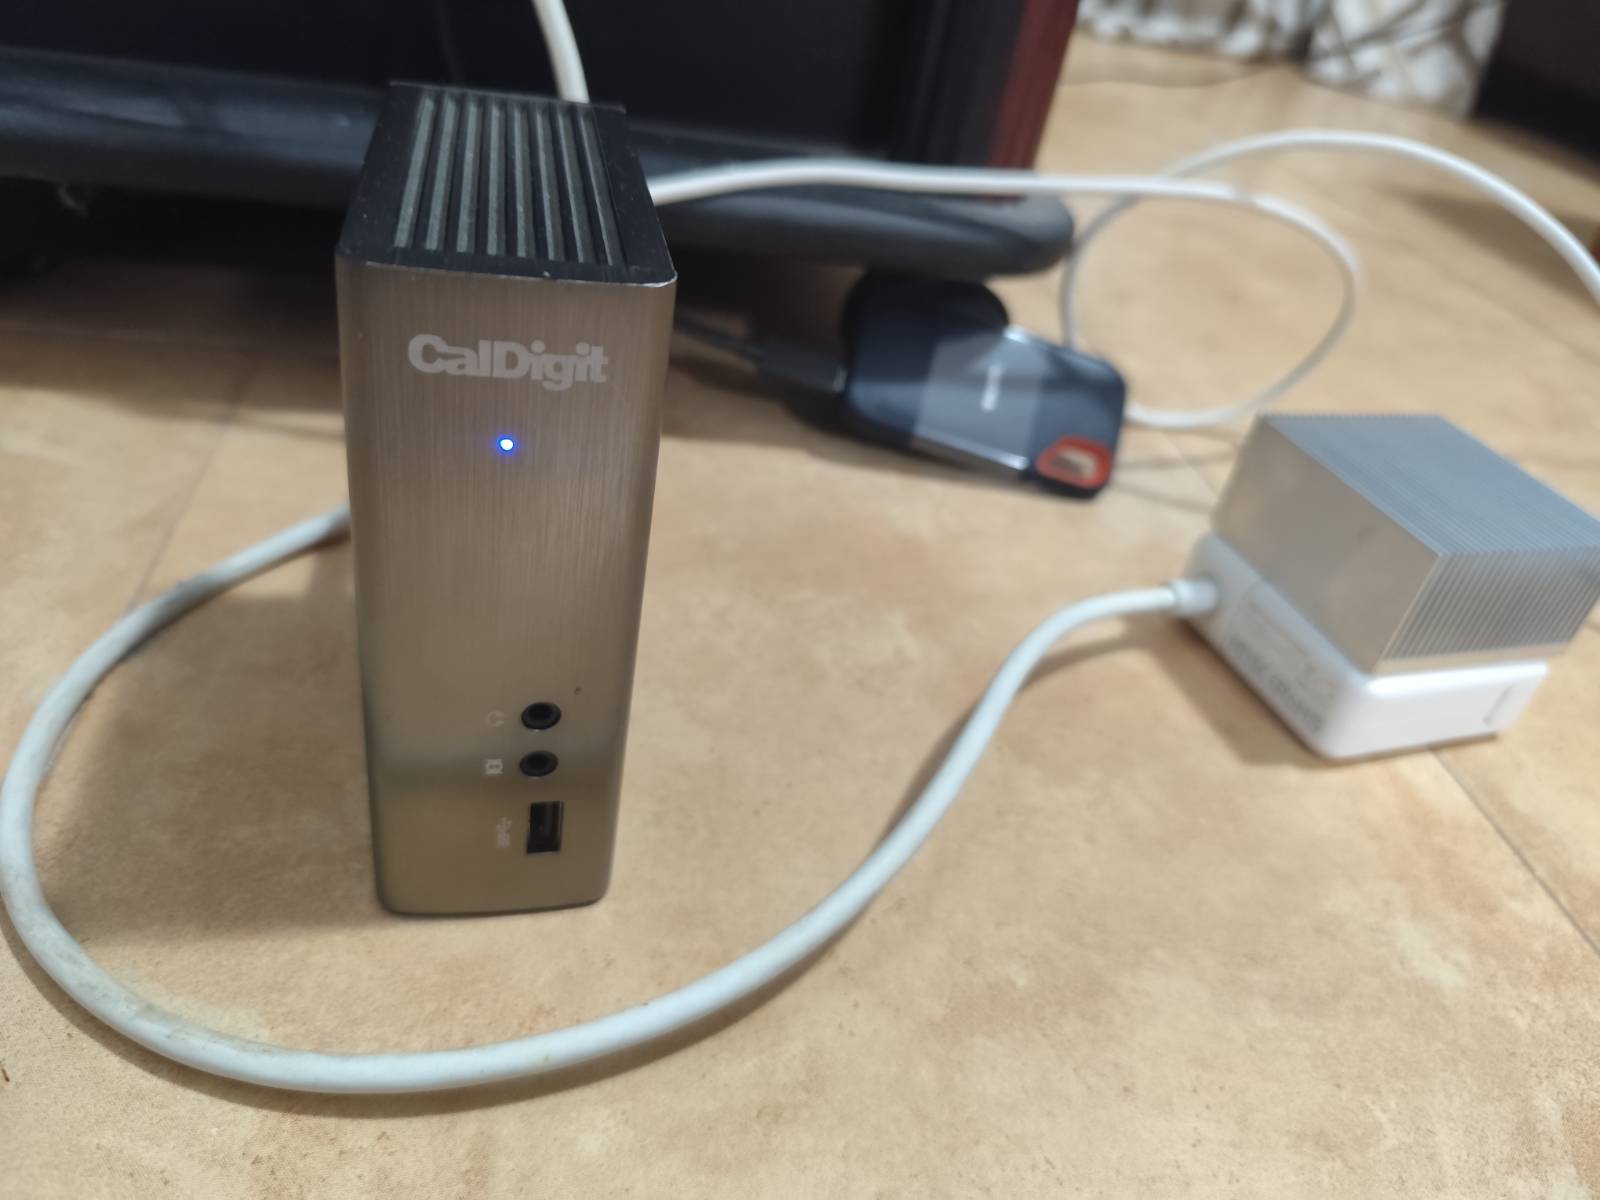
    • Device: CalDigit Thunderbolt Station 2 (New device + new Thunderbolt cable)
    • Target: Connect USB devices (SanDisk) through Thunderbolt hub

    Initial Problem Description

    The CalDigit Thunderbolt Station 2 was experiencing connection issues:

    • Device would connect and disconnect repeatedly
    • Error: thunderbolt 0000:07:00.0: device link creation from 0000:06:00.0 failed
    • Error: 0:2: failed to reach state TB_PORT_UP. Ignoring port...
    • USB devices connected to the CalDigit would not be recognized properly

    Root Cause Analysis

    The issues were caused by multiple factors:

    1. Power Management Conflicts: MacBook Pro 11,1 with Liquorix kernel had aggressive power management interfering with Thunderbolt
    2. PCI Bus Assignment Issues: Insufficient bus numbers allocated for hotplug devices
    3. Thunderbolt Security: Device authorization problems
    4. PCIe ASPM: Advanced State Power Management causing communication failures

    Complete Solution

    Step 1: Kernel Parameter Modification

    Edit GRUB configuration to add specific kernel parameters:

    sudo joe /etc/default/grub
    

    Modify the GRUB_CMDLINE_LINUX_DEFAULT line to include:

    GRUB_CMDLINE_LINUX_DEFAULT="quiet pcie_aspm=off pci=realloc,assign-busses pcie_port_pm=off thunderbolt.start_icm=1"
    

    Parameter Explanation:

    • pcie_aspm=off: Disables PCIe Advanced State Power Management
    • pci=realloc,assign-busses: Forces PCI bus reallocation and assignment
    • pcie_port_pm=off: Disables PCIe port power management
    • thunderbolt.start_icm=1: Forces Intel Connection Manager startup

    Apply changes:

    sudo update-grub
    sudo reboot
    

    Step 2: Post-Boot Verification

    After reboot, verify the CalDigit is detected:

    # Check Thunderbolt devices
    sudo dmesg | grep -i thunderbolt | head -10
    
    # Should show:
    # thunderbolt 0-3: CalDigit, Inc. Thunderbolt Station 2
    # No more "device link creation failed" errors
    
    # Verify device listing
    ls -la /sys/bus/thunderbolt/devices/
    

    Step 3: Device Authorization with Bolt

    Install and configure bolt for Thunderbolt device management:

    # Install bolt (if not already installed)
    sudo apt update && sudo apt install bolt
    
    # Check device status
    sudo boltctl list
    
    # The CalDigit should show as "authorized"
    

    Step 4: Verify USB Functionality

    Connect USB devices to the CalDigit and verify recognition:

    # Check USB device tree
    lsusb -t
    
    # Check connected storage devices
    lsblk
    
    # Verify USB devices by-id
    ls -la /dev/disk/by-id/ | grep usb
    

    Expected Results

    After applying the solution:

    1. Thunderbolt Detection: CalDigit appears as thunderbolt 0-3: CalDigit, Inc. Thunderbolt Station 2
    2. Authorization Status: Device shows as authorized in bolt
    3. USB Devices: Connected USB devices appear normally in lsusb and lsblk
    4. No Error Messages: No more «device link creation failed» or port timeout errors

    Troubleshooting Commands

    Diagnostic Commands

    # View Thunderbolt module parameters
    cat /sys/module/thunderbolt/parameters/*
    
    # Check PCI tree for Thunderbolt devices
    sudo lspci -tv | grep -A 5 -B 5 Thunderbolt
    
    # Monitor real-time device connections
    sudo dmesg -w
    
    # Check device authorization status
    cat /sys/bus/thunderbolt/devices/0-3/authorized
    
    # View detailed PCI bridge information
    sudo lspci -vvv -s 06:00.0
    

    Reset Commands (if needed)

    # Reload Thunderbolt module
    sudo modprobe -r thunderbolt
    sudo modprobe thunderbolt start_icm=true
    
    # Force PCI rescan
    echo 1 | sudo tee /sys/bus/pci/rescan
    
    # Manual device authorization (if bolt fails)
    echo 1 | sudo tee /sys/bus/thunderbolt/devices/0-3/authorized
    

    Hardware-Specific Notes

    MacBook Pro 11,1 Considerations

    • This model uses Intel DSL5520 Thunderbolt 2 Controller (Falcon Ridge 4C 2013)
    • Requires specific power management settings due to aggressive power saving in the chipset
    • BIOS/EFI settings may need Thunderbolt security set to «No Security» or «User Authorization»

    Kernel Compatibility

    • Liquorix kernel: More aggressive optimizations can interfere with Thunderbolt
    • Standard Debian kernel: Generally more compatible with Apple hardware
    • The solution works with Liquorix but may require additional parameters

    CalDigit Thunderbolt Station 2 Specifics

    • Supports Thunderbolt 2 (20 Gbps)
    • Provides 3x USB 3.0 ports, Ethernet, audio, and additional Thunderbolt passthrough
    • Requires external power adapter for full functionality
    • Some USB devices may require specific ports for optimal performance

    Alternative Solutions (if main solution fails)

    Option 1: Switch to Standard Kernel

    # Install standard Debian kernel
    sudo apt install linux-image-amd64
    # Select standard kernel at next boot
    

    Option 2: Additional GRUB Parameters

    If the main solution partially works but has issues, try adding:

    pci=hpbussize=32 acpi=force intel_iommu=off
    

    Option 3: Firmware Updates

    # Check for firmware updates
    sudo fwupdmgr get-devices
    sudo fwupdmgr refresh
    sudo fwupdmgr get-updates
    

    Final Notes

    • The solution addresses the core compatibility issues between MacBook Pro 11,1, Liquorix kernel, and CalDigit Thunderbolt Station 2
    • All kernel parameters are essential for proper operation
    • USB devices connected to the CalDigit should work normally after applying the solution
    • The fix is persistent across reboots once GRUB is updated
    • Monitor dmesg logs if any issues arise with new USB devices

    Success Indicators

    CalDigit Detection: Device appears in bolt list as authorized
    No Error Messages: Clean dmesg output for Thunderbolt events
    USB Functionality: Connected devices appear in lsusb and lsblk
    Stable Operation: No disconnect/reconnect cycles
    Storage Access: USB storage devices mount and operate normally


    Hardware: MacBook Pro 11,1 (Mid 2013)
    Software: Kali Linux Rolling 2025.4 + Liquorix kernel 6.17.8
    Device: CalDigit Thunderbolt Station 2 + Various USB devices

  • Suspender e Hibernar un Macbook pro con Debian Buster

    Suspender e Hibernar un Macbook pro con Debian Buster

    Tengo un Macbook pro con Debian GNU/Linux en el cual estaba teniendo problemas al hibernarlo y suspenderlo.

    El interfaz de red que tiene es:

    03:00.0 Network controller: Broadcom Limited BCM4360 802.11ac Wireless Network Adapter (rev 03)
    

    En este portátil he trasteado bastante reparticionando su disco duro, por lo que es probable que ello haya influido en modificar los identificadores de las particiones swap usadas al hibernar.

    Al hibernarlo:

    El arrancar de nuevo el ordenador era igual que si no lo hubiera hibernado antes.

    La solución estaba en modificar el archivo /etc/initramfs-tools/conf.d/resume
    y especificar correctamente el identificador UUID de la partición de swap a usar.

    Los identificadores pueden comprobarse en el directorio:

    /dev/disk/by-uuid/
    Ejemplo:
    1. Comprobar donde está la partición de espacio de intercambio (swap)

      $ sudo fdisk -l
      .
      /dev/sda3 131602432 165154815 33552384 16G Linux swap
      .

    2. Comprobar cual esl UUID de esa partición.

      $ ls -l /dev/disk/by-uuid/
      .
      lrwxrwxrwx 1 root root 10 Nov 25 14:39 db4290b0-56c2-499c-aa4a-8a4e932e9b23 -> ../../sda3
      .

    3.  Actualizar /etc/initramfs-tools/conf.d/resume con el UUID correcto.

      RESUME=UUID=db4290b0-56c2-499c-aa4a-8a4e932e9b23

    Fuente: https://lists.debian.org/debian-user/2017/07/msg01074.html


    Al suspenderlo:

    En este caso, el principal inconveniente que estaba teniendo era que al volver de la suspensión perdía las conexiones de redes, sea por cable ethernet o inalámbrica por wifi.
    Esto me estaba obligando a reiniciar el network-manager, y con frecuencia varias veces seguidas tras volver de una suspensión.

    Tras jugar con ajustes de energía en los paneles de control, los archivos de interfaces, systemd, etc…

    Al final, la solución estuvo en evitar conflictos entre varios gestores de red. En mi caso opté por eliminar el paquete wicd-daemon y dejar que network-manager se encargue de las conexiones.


  • Soporte para los clickpad en HP Pavillion DV7 4160ES

    Estos son los componentes que trae el susodicho portátil:

    # lspci
    00:00.0 Host bridge: Intel Corporation Core Processor DRAM Controller (rev 02)
    00:01.0 PCI bridge: Intel Corporation Core Processor PCI Express x16 Root Port (rev 02)
    00:02.0 VGA compatible controller: Intel Corporation Core Processor Integrated Graphics Controller (rev 02)
    00:16.0 Communication controller: Intel Corporation 5 Series/3400 Series Chipset HECI Controller (rev 06)
    00:1a.0 USB Controller: Intel Corporation 5 Series/3400 Series Chipset USB2 Enhanced Host Controller (rev 05)
    00:1b.0 Audio device: Intel Corporation 5 Series/3400 Series Chipset High Definition Audio (rev 05)
    00:1c.0 PCI bridge: Intel Corporation 5 Series/3400 Series Chipset PCI Express Root Port 1 (rev 05)
    00:1c.1 PCI bridge: Intel Corporation 5 Series/3400 Series Chipset PCI Express Root Port 2 (rev 05)
    00:1d.0 USB Controller: Intel Corporation 5 Series/3400 Series Chipset USB2 Enhanced Host Controller (rev 05)
    00:1e.0 PCI bridge: Intel Corporation 82801 Mobile PCI Bridge (rev a5)
    00:1f.0 ISA bridge: Intel Corporation Mobile 5 Series Chipset LPC Interface Controller (rev 05)
    00:1f.2 SATA controller: Intel Corporation 5 Series/3400 Series Chipset 4 port SATA AHCI Controller (rev 05)
    00:1f.3 SMBus: Intel Corporation 5 Series/3400 Series Chipset SMBus Controller (rev 05)
    00:1f.6 Signal processing controller: Intel Corporation 5 Series/3400 Series Chipset Thermal Subsystem (rev 05)
    01:00.0 VGA compatible controller: ATI Technologies Inc Manhattan [Mobility Radeon HD 5000 Series]
    01:00.1 Audio device: ATI Technologies Inc Manhattan HDMI Audio [Mobility Radeon HD 5000 Series]
    02:00.0 Network controller: Atheros Communications Inc. AR9285 Wireless Network Adapter (PCI-Express) (rev 01)
    03:00.0 Ethernet controller: Realtek Semiconductor Co., Ltd. RTL8111/8168B PCI Express Gigabit Ethernet controller (rev 03)
    7f:00.0 Host bridge: Intel Corporation Core Processor QuickPath Architecture Generic Non-core Registers (rev 02)
    7f:00.1 Host bridge: Intel Corporation Core Processor QuickPath Architecture System Address Decoder (rev 02)
    7f:02.0 Host bridge: Intel Corporation Core Processor QPI Link 0 (rev 02)
    7f:02.1 Host bridge: Intel Corporation Core Processor QPI Physical 0 (rev 02)
    7f:02.2 Host bridge: Intel Corporation Core Processor Reserved (rev 02)
    7f:02.3 Host bridge: Intel Corporation Core Processor Reserved (rev 02)

    Haciendo apt-pinning en Debian instalo algunos paquetes de la rama unstable en Squeeze.

    Instalo la última versión del kernel:

    # apt-get install linux-headers-2.6.38-1-amd64
    # apt-get install linux-image-2.6.38-1-amd64

    Instalo las últimas versiones de los componentes de xorg de la rama unstable.
    (Todos los componentes hasta que no falte ninguna dependencia)

    # apt-get install -t unstable xserver-xorg-input-synaptics xorg xserver-xorg

    Veo que hay bugs relacionados en el bugtracker de Debian:
    http://bugs.debian.org/cgi-bin/bugreport.cgi?bug=597082
    http://bugs.debian.org/cgi-bin/bugreport.cgi?bug=572842

    En el primero de ellos se hace referencia a este parche y lo descargamos en /usr/src/99-clickpad.patch:
    http://bugs.debian.org/cgi-bin/bugreport.cgi?msg=26;filename=99-clickpad.patch;att=1;bug=597082

    Bajamos los fuentes de Debian unstable para xserver-xorg-input-synaptics:

    # apt-get source -t unstable xserver-xorg-input-synaptics

    Bajamos tambien las dependencias para poder recompilarlo:

    # apt-get -t unstable build-dep xserver-xorg-input-synaptics

    Vamos al directorio donde se han descargado y aplicamos el parche que bajamos antes.
    (En nuestro caso se ha bajado la versión 1.4.0)

    # cd /usr/src/xserver-xorg-input-synaptics-1.4.0 
    # cat /usr/src/99-clickpad.patch |patch -p1

    Recompilamos el paquete con el parche ya incluido.

    # dpkg-buildpackage -b

    Instalamos el paquete:

    # sudo dpkg -i ../xserver-xorg-input-synaptics-*version*.deb

    (En mi caso: xserver-xorg-input-synaptics_1.4.0-1_amd64.deb)

    Sólo nos basta las X-window y el soporte mejora considerablemente. Aunque quedan bastantes funcionalidades que iremos viendo implementadas muy pronto por los desarrolladores del kernel y de Xorg.

    Y con esto y un bizcocho, este desarrollador puede desarrollar tranquilamente.

Creative Commons License
Except where otherwise noted, the content on this site is licensed under a Creative Commons Attribution-NonCommercial-ShareAlike 4.0 International License.